Step-by-Step Guide to Connecting an Inverter to a Distribution Board
Key Takeaway
- Safety First: Always turn off the main power supply and use proper safety gear before starting the installation.
- Appropriate Sizing: Ensure your inverter’s capacity matches your power needs and is compatible with your distribution board.
- Correct Wiring: Use the right cables for connection, ensuring positive to positive and negative to negative terminals for a safe and efficient setup.
- Install a Bypass Switch: A bypass switch allows you to seamlessly switch between the inverter and the main power supply.
Introduction
An inverter is an essential device that converts direct current (DC) from a battery into alternating current (AC) used by household appliances. Connecting an inverter to a distribution board (DB) is a crucial step in ensuring uninterrupted power during outages.
The process begins with turning off the main power supply to ensure safety. Next, choose an inverter with a suitable capacity to handle your power needs, ensuring it matches the rating of your distribution board. The correct wiring is crucial—connect positive terminals to positive and negative to negative, using appropriate cables to prevent electrical hazards.
Installing a bypass switch is recommended, allowing you to easily switch between the inverter and the main grid. Once connected, test the system to ensure the inverter powers your desired circuits efficiently. If you’re unsure about any part of the process, it’s always best to seek the help of a qualified electrician to ensure proper and safe installation.
This guide provides a detailed, step-by-step approach to safely and effectively connect an inverter to your distribution board.
Safety Precautions: Before beginning the installation process, make sure to:
1. Switch off the main power supply to avoid electric shocks.
2. Use appropriate Personal Protective Equipment (PPE) such as insulated gloves and safety goggles. Test for the absence of voltage using a voltage tester.
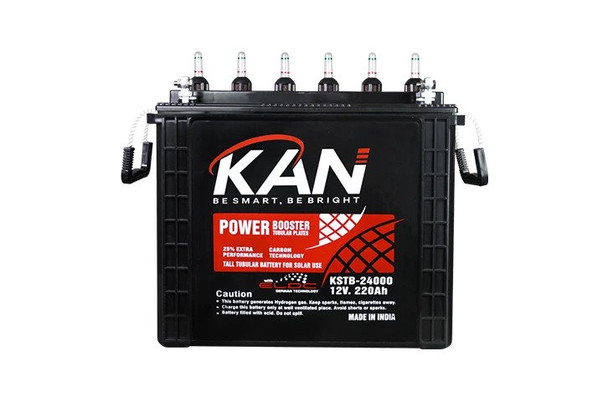
Kan 12v. 220AH Solar Tubular Battery
Understanding the Basics
What is an Inverter?
An inverter is a device that converts DC power stored in batteries into AC power, which is the standard power used for home appliances. Inverters come in various types, including:
1. Pure Sine Wave Inverters: Ideal for sensitive electronic devices as they produce a clean and smooth waveform.
2. Modified Sine Wave Inverters: Less expensive but suitable for simple appliances without sensitive electronics.
3. Off-Grid Inverters: Typically used when you rely completely on solar power or batteries.
What is a Distribution Board?
A distribution board (DB) is the central hub in an electrical system where electrical power is distributed from the main source to different circuits. It contains:
1. Circuit Breakers: To protect circuits from overloading and short circuits.
2. Main Switch: To control the overall power supply to the circuits.
3. Bus Bars and Neutral Links: Connecting points for incoming and outgoing cables.
Importance of Compatibility
Before connecting the inverter:
1. Ensure that the inverter’s capacity (in watts) matches the power requirements of your appliances.
2. Check that the inverter is compatible with the voltage and wiring system of your distribution board. Compatibility is crucial for preventing overloads or malfunctions.
Tools and Materials Needed
To safely and efficiently connect an inverter to a distribution board, you’ll need the following tools and materials:
Tools:
1. Screwdrivers (Flat and Phillips)
2. Wire strippers and cutters
3. Voltage tester and multimeter
4. Drill (if needed for mounting the inverter)
Materials:
1. Insulated cables (appropriate gauge for your inverter)
2. Circuit breakers (if adding new ones to the DB)
3. Connectors, fuses, and conduit for protecting cables
Ensuring you have the right tools and materials will make the installation process smoother and help avoid potential errors.
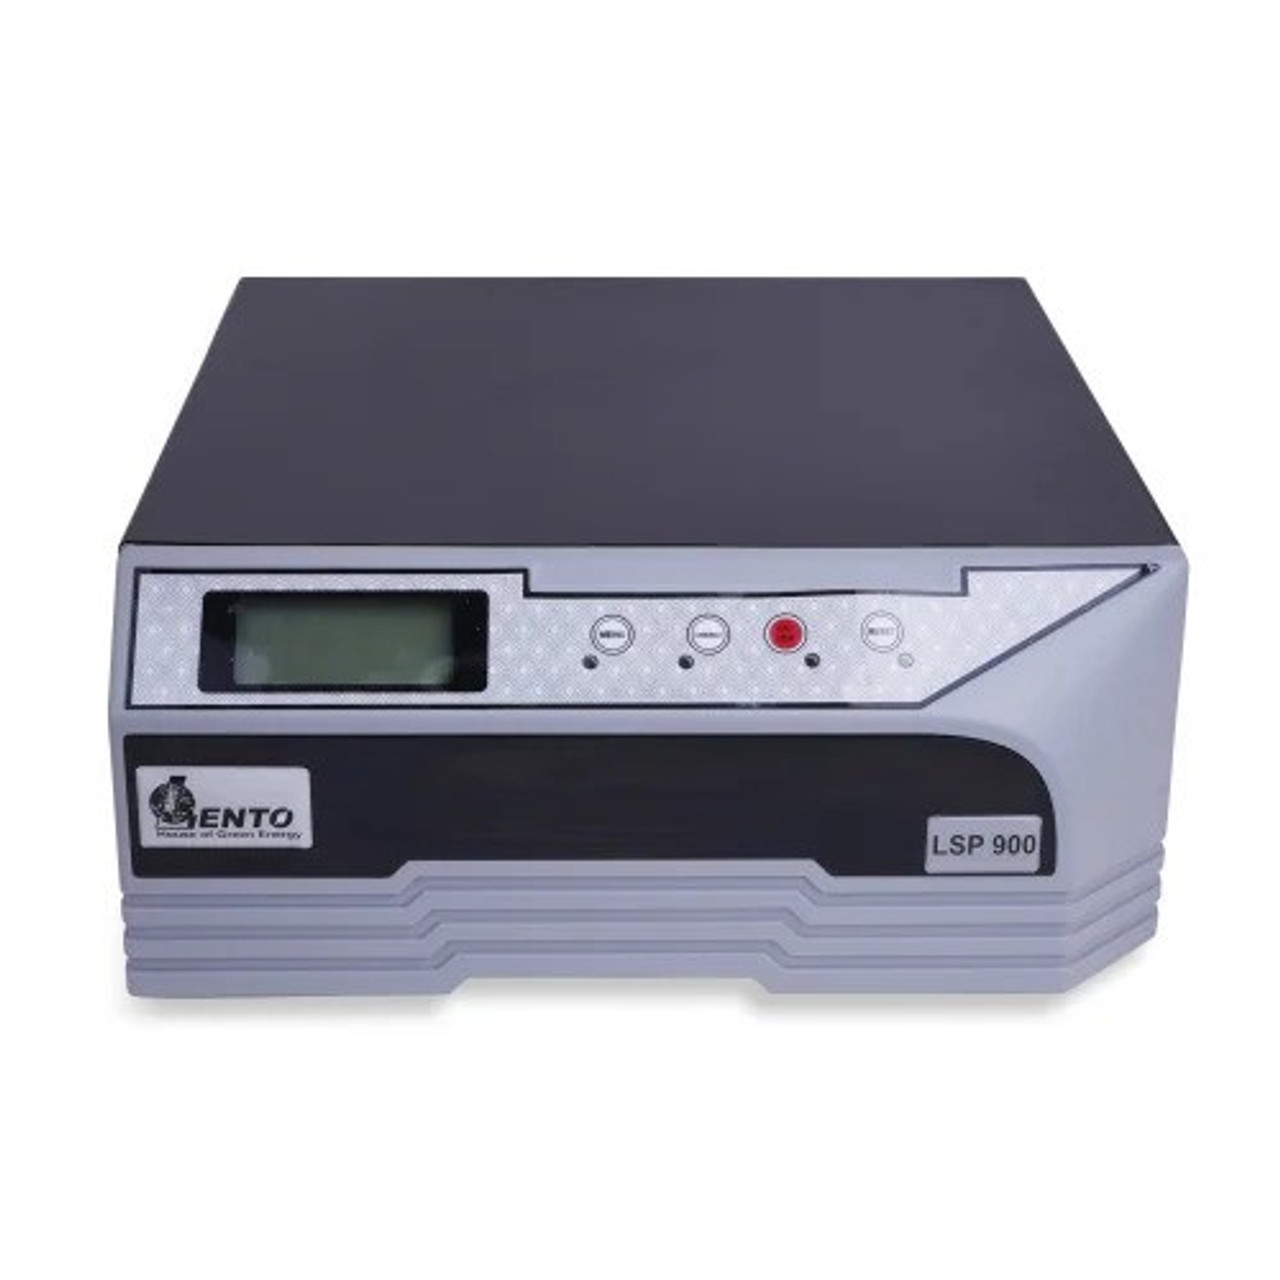
LENTO INVERTER 1215VA 12V
Safety Measures Before Installation
Before you start, it’s critical to take several safety measures:
1. Turn off the Main Power Supply: To minimize the risk of electric shocks, switch off the main power supply at the distribution board.
2. Use PPE: Wear insulated gloves and safety goggles to protect yourself from accidental shocks or splashes.
3. Check for Voltage: Use a voltage tester or multimeter to verify that the distribution board is not live. This ensures that you can work safely on the connections.
Wiring Preparation
Identifying the Connection Points
Locate the input and output terminals on the inverter. These terminals will be connected to the battery (input side) and the distribution board (output side). On the distribution board, find the circuit where you plan to connect the inverter’s output.
Choosing the Correct Cable
Choose cables with the right gauge based on the inverter’s power rating. Thicker cables (lower gauge numbers) are necessary for higher wattage inverters to minimize voltage drop and prevent overheating. Ensure the cables are suitable for both DC (battery to inverter) and AC (inverter to distribution board) connections.
This preparation stage ensures that you have the right components and plan to proceed efficiently and safely with the installation.
Connecting the Inverter to the Distribution Board
Step 1: Installing the Inverter Close to the DB
1. Choose a secure, well-ventilated location close to the distribution board for the inverter installation. This minimizes the length of the cables required and reduces the risk of voltage drop.
2. Securely mount the inverter on a wall or shelf using appropriate brackets, ensuring that it is stable and accessible for maintenance.
Step 2: Wiring the Battery to the Inverter
1. Connect the battery terminals to the inverter using the designated cables:
2. Positive Terminal: Connect the positive cable from the battery to the positive input terminal on the inverter.
3. Negative Terminal: Connect the negative cable from the battery to the negative input terminal on the inverter.
4. Ensure that the connections are tight and secure to prevent any arcing or power loss.
Step 3: Connecting the Inverter Output to the DB
1. Locate the AC output terminals on the inverter and connect them to the distribution board.
2. Use an appropriately sized cable to connect the live (L) and neutral (N) wires from the inverter’s output to the corresponding circuit breaker in the DB.
3. Double-check the connections to ensure that the live and neutral wires are connected correctly. Reversing them can cause damage to appliances and create safety hazards.
Step 4: Installing a Changeover Switch (Optional)
1. A changeover switch allows you to manually or automatically switch between the main power supply and the inverter.
2. For manual setups, install a two-way switch that allows you to switch the source of power between the inverter and the mains supply.
3. For automatic setups, use an Automatic Transfer Switch (ATS), which automatically shifts the power source when it detects an outage or when mains power is restored.
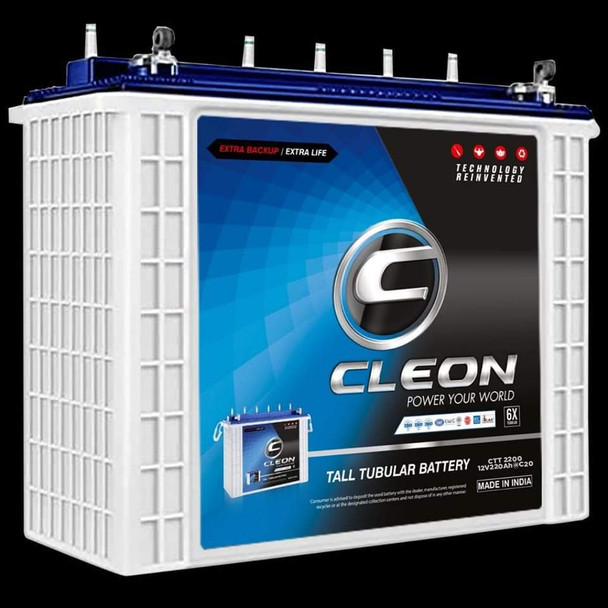
Cleon Solar and Inverter Tall Tubular battery 12V 240AH
Benefits of a Changeover Switch:
1. Provides seamless power transfer during outages.
2. Reduces manual intervention, especially with an ATS, which is ideal for critical systems that require continuous power.
Testing and Finalizing the Installation
Testing the Inverter
1. Once all connections are made, turn on the inverter and verify that it is functioning correctly by checking the voltage output with a multimeter. The voltage should match the standard AC voltage for your region (e.g., 220-240V for most countries).
2. Turn on the relevant circuit breakers in the distribution board to check if power is being supplied to the intended circuits.
Checking for Errors
1. Inspect all connections for tightness and make sure there are no exposed wires. Loose connections can cause overheating and lead to fire hazards.
2. Verify that the neutral and ground wires are properly connected to prevent electrical hazards like electric shocks or tripping of circuit breakers.
3. If you encounter issues such as no output from the inverter or tripping breakers, review the wiring connections and use a multimeter to troubleshoot.
Labeling and Documentation
1. Label the connections and circuit breakers to identify which circuits are connected to the inverter. Proper labeling helps in future maintenance or troubleshooting.
2. Document the installation details, including inverter specifications, cable sizes, and any special instructions for operation or maintenance. Keeping a record can be helpful for future reference or when seeking professional support.
Maintenance Tips for Long-Term Use
Proper maintenance is essential to ensure your inverter system operates efficiently and lasts for a long time. Follow these maintenance tips:
Routine Inspection
1. Regularly inspect cables, connectors, and terminals for any signs of wear, corrosion, or damage. Replace any damaged parts immediately to prevent electrical faults.
2. Ensure that all connections are tight to prevent arcing, which can lead to heat buildup and potential hazards.
Battery Health Check
1. Monitor the battery charge levels and capacity. If you notice that the battery isn’t holding charge as it should, it may be time to replace it.
2. Keep the battery terminals clean and free of corrosion. Use a mixture of baking soda and water to clean terminals if needed.
Inverter Cleaning and Ventilation
1. Periodically clean the inverter to remove dust and debris that may accumulate, which can affect its performance and cause overheating.
2. Ensure that the inverter remains in a well-ventilated space to prevent heat buildup. Avoid placing objects or blocking the inverter’s cooling vents.
By following these tips, you can maintain the efficiency of your inverter and prolong its operational life.
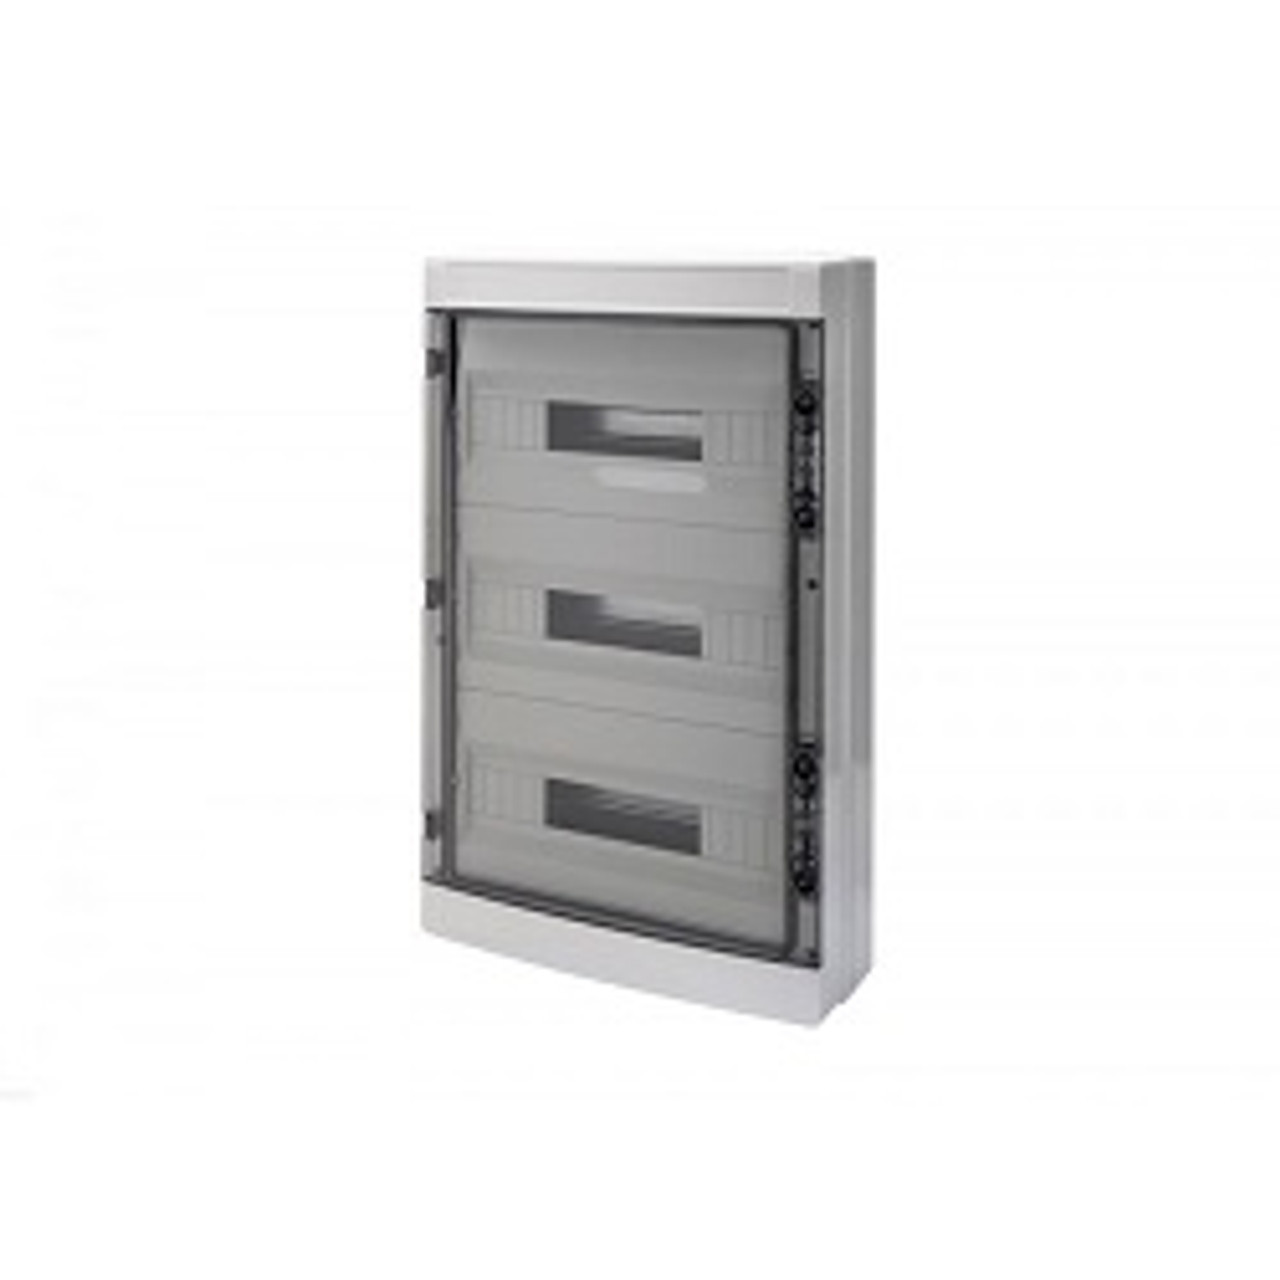
Waterproof Electric distribution board 150A 32V IP65 Hellog
Frequently Asked Questions
1. What is the best type of inverter for home use?
The best type for home use is a pure sine wave inverter, as it produces a stable and clean power output that is compatible with sensitive electronic devices.
2. How can I determine the right capacity for my inverter?
Calculate the total wattage of all the appliances you plan to connect to the inverter. Choose an inverter with a power rating at least 20-30% higher than your total wattage to handle any additional load comfortably.
3. Can I connect multiple inverters to a single distribution board?
Yes, it is possible, but it requires proper setup with a parallel inverter system and synchronization to ensure the outputs match. Consult an expert to set this up correctly.
4. What are the signs that my inverter is not working properly?
Common signs include: beeping sounds, power output fluctuations, the inverter shutting down unexpectedly, or the inverter’s display showing error codes. Inspect the system and consult the inverter manual or a professional if issues persist.
5. Is it necessary to use a changeover switch with an inverter?
While not mandatory, a changeover switch (manual or automatic) offers convenience and safety by seamlessly switching between the main power supply and the inverter, preventing back-feeding and electrical hazards.
Related Articles
Step-by-Step Guide to Installing a Home Inverter System
How power Inverters in Nigeria Work
Conclusion
Connecting an inverter to a distribution board is a practical solution for ensuring a continuous power supply during outages. Following the steps outlined in this guide will help you safely and effectively complete the installation process. Remember to prioritize safety at every stage and conduct regular maintenance checks to keep your system running efficiently.
If you are ever unsure about any step or need professional assistance, it’s best to consult with an experienced electrician.
For high-quality inverters, installation tools, and all your power backup needs, visitTikweld Products and Services. Tikweld offers a range of reliable products designed to help you set up and maintain your inverter system safely and efficiently. Explore their selection today to find the right equipment for your home or business!


