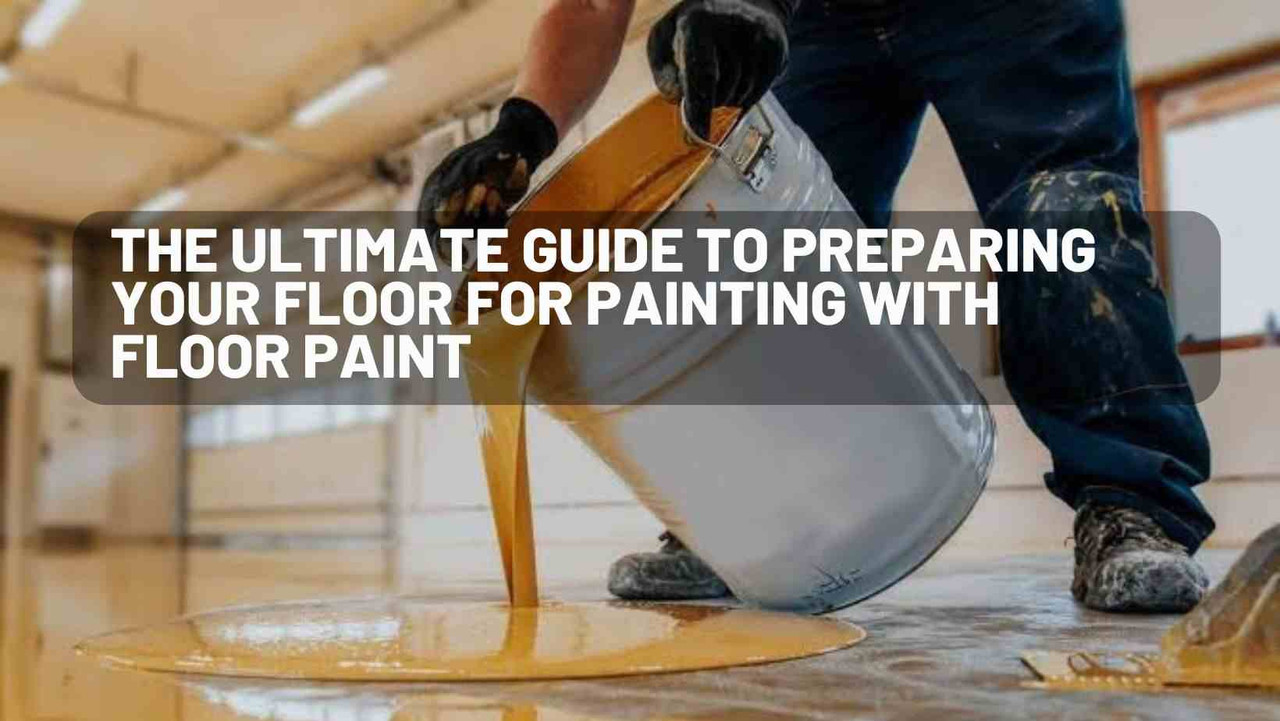
The Ultimate Guide to Preparing Your Floor for Painting with Floor Paint
Floor painting is a great way to freshen up the look of a room and protect the surface from wear and tear. Whether you are looking to update your garage floor, basement, or any other flooring area, it is important to properly prepare the surface before applying floor paint. In this comprehensive guide, we will walk you through the steps to ensure a successful floor painting project.
Thinking about adding a fresh coat of paint to your floors? Whether you're looking to add a pop of color, cover up imperfections, or simply refresh the look of your space, painting your floors can be a great way to transform a room.
However, before you dive into this project, it's crucial to properly prepare your floors to ensure a long-lasting and professional-looking finish. In this ultimate guide, we will walk you through the steps to prepare your floors for painting using our floor paint.
Additionally, floor paint can help to hide imperfections and create a clean, uniform look for any space. With a wide variety of colors and finishes available, you can easily customize your floor to match your personal style and design aesthetic.
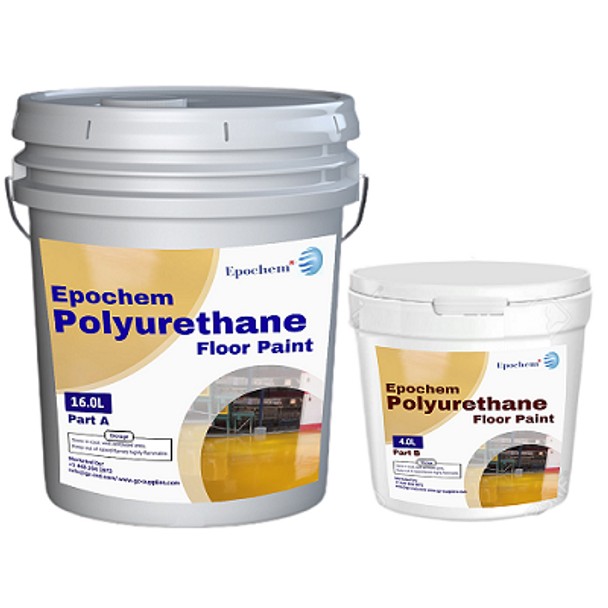
Epochem Polyurethane Floor Paint
Benefits of Painting Your Floor
There are several benefits to painting your floors, including creating a more visually appealing space, covering up stains and imperfections, and protecting your floors from wear and tear. Floor paint can also provide added traction, making it an ideal option for high-traffic areas.
Types of Floor Paint
When it comes to choosing the right floor paint, there are a few options to consider. Epoxy paint is a popular choice for its durability and resistance to chemicals and abrasions. Latex and acrylic paints are also great options for a more budget-friendly and easy-to-apply finish.
Preparing Your Surface for Floor Painting
Before you start painting, it's essential to properly prepare your surface. Begin by cleaning your floors thoroughly to remove any dirt, grease, or debris. Next, inspect your floors for any cracks or holes and repair them using a patching compound. Sanding your floors will help create a smooth and even surface for better adhesion of the paint.
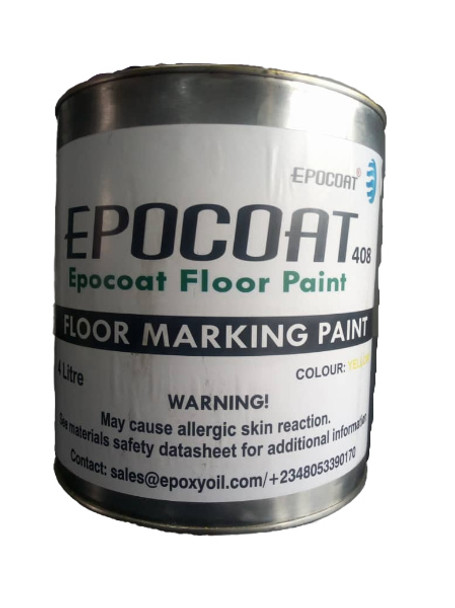
Floor Marking Paint EPOCOAT 408
Choosing the Right Floor Paint for Your Surface
Before you begin a floor painting project, it is important to select the right type of paint for your surface. Consider factors such as the material of the flooring, the level of foot traffic, and the desired finish. For concrete floors, epoxy paint is a popular choice due to its durability and high-gloss finish. For wooden floors, latex or oil-based paints are recommended for their ability to adhere to the surface and provide lasting protection.
Sanding the Surface for Better Adhesion
Sanding the surface is an important step in preparing for floor painting. Use a coarse sandpaper to roughen up the surface and create a textured finish that will help the paint adhere properly. Be sure to sand in the direction of the grain for wooden floors and in a circular motion for concrete surfaces. After sanding, vacuum or wipe the floor clean to remove any dust and debris before applying primer.
Applying Primer to Your Floor Before Painting
Priming the surface is essential for achieving a smooth, long-lasting finish when painting floors. Use a high-quality primer that is specifically formulated for your type of floor paint. Apply the primer evenly with a roller or brush, making sure to cover the entire surface. Allow the primer to dry completely before applying the first coat of paint. This will create a strong bond between the paint and the surface, ensuring a durable and professional-looking finish.
Painting Techniques for Different Floor Surfaces
Different floor surfaces require different painting techniques to achieve the best results. For concrete floors, apply the paint in long, even strokes with a roller for a seamless finish. For wooden floors, use a brush to reach corners and edges, then follow up with a roller for even coverage. Be sure to work in sections to prevent the paint from drying too quickly and causing visible seams or imperfections.
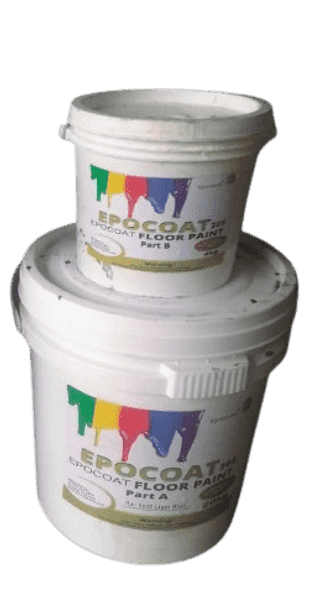
EPOCOAT 304/305 Floor Paint
Tips for a Flawless Floor Painting Job
To achieve a professional finish, there are a few tips to keep in mind. Start by painting along the edges and corners with a brush before using a roller to cover the larger areas. Use long, even strokes to ensure a smooth and consistent finish. Allow each coat of paint to dry completely before applying the next coat.
Curing and Drying Time for Floor Paint
After painting the floor, it is important to allow the paint to cure and dry completely before walking on it or placing any heavy furniture. The curing time depends on the type of paint and the temperature and humidity of the room. Most floor paints require at least 24 hours to dry to the touch and 72 hours to cure fully. Be sure to follow the manufacturer's instructions for the recommended drying and curing times to ensure a durable and long-lasting finish.
Maintaining and Protecting Your Painted Floor
Once the floor paint has dried and cured, it is important to maintain and protect the surface to prolong its lifespan. Avoid using harsh chemicals or abrasive cleaners that can damage the paint. Instead, sweep and mop the floor regularly to remove dirt and debris. Place protective pads under furniture legs to prevent scratches and dents. Additionally, consider applying a clear sealant or topcoat to enhance the durability and longevity of the floor paint.
Common Mistakes to Avoid When Floor Painting
When painting floors, avoid these common mistakes to ensure a successful outcome:
- Skipping the prep work: Properly preparing your floors is essential for a successful painting job.
- Using the wrong type of paint: Make sure to choose a paint specifically designed for use on floors.
- Applying too thick of a coat: Thin, even coats of paint will provide a more durable and professional finish.
- Not allowing the paint to dry properly: Allow each coat of paint to dry completely before applying the next coat.
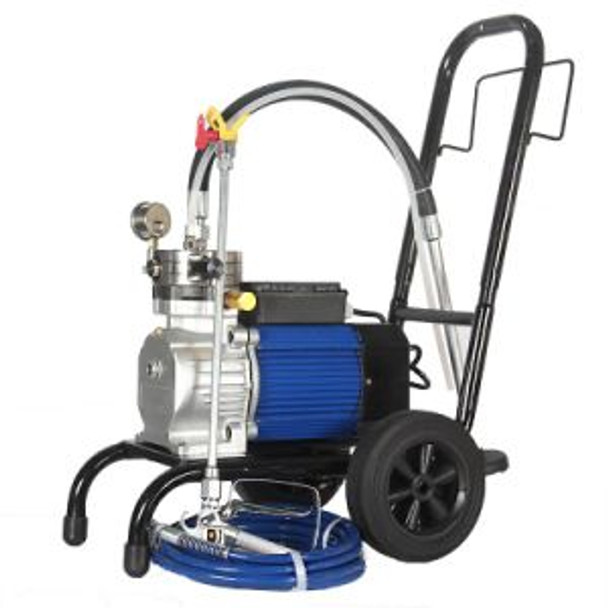
Diaphragm Airless Paint Sprayer HVBAN ED450
Conclusion
Floor painting is a simple and cost-effective way to transform the look of any room and protect the surface from everyday wear and tear. By following the steps outlined in this guide, you can ensure a successful floor painting project that will enhance the aesthetics of your space and provide lasting durability.
Remember to choose the right type of paint for your surface, properly prepare the area, apply primer before painting, and follow recommended techniques for a smooth and even finish. With the right tools, techniques, and products, you can achieve professional results and enjoy a beautifully painted floor for years to come.
If you have any questions or need assistance with your floor painting project, feel free to Contact us for expert advice and guidance.

