How to Safely Connect Your Inverter to Electricity: A Complete Guide
Introduction
Inverters have become an essential solution for power outages, ensuring a continuous supply of electricity to homes, offices, and industries. They convert stored DC power from batteries into usable AC power for appliances. However, improper installation can lead to electrical hazards, system inefficiencies, or even damage to your devices. This guide provides a step-by-step process for safely connecting your inverter to electricity while ensuring efficiency and safety.
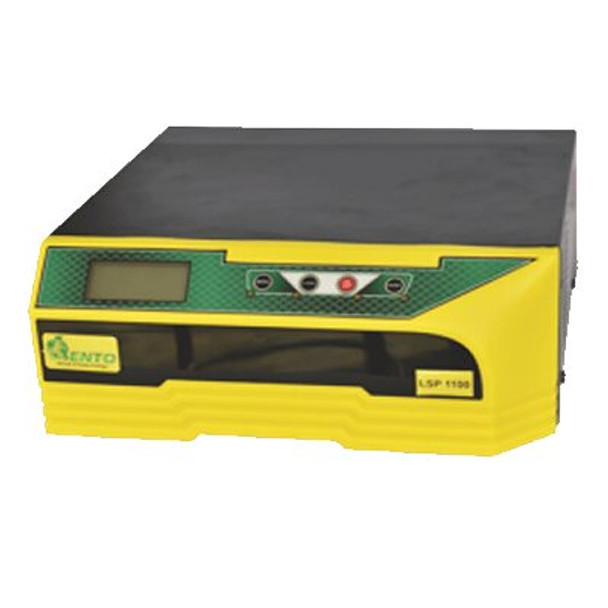
Pure Sine wave Inverter 1.6Kva/24V Lento
Understanding Inverter Basics
Before connecting your inverter, it’s crucial to understand how it works and its components.
What is an Inverter?
An inverter converts direct current (DC) from batteries into alternating current (AC) suitable for powering household or industrial devices. They are widely used in areas with frequent power outages or as backup solutions for critical systems.
Types of Inverters:
- Pure Sine Wave Inverters: Provide smooth, consistent power, ideal for sensitive equipment like computers and medical devices.
- Modified Sine Wave Inverters: Suitable for less-sensitive devices but may cause issues with motors or fluorescent lights.
- Square Wave Inverters: Least efficient, used for very basic applications.
Key Components:
- Battery: Stores energy for conversion.
- Charger: Charges the battery when power is available.
- Control Circuitry: Regulates power flow and conversion processes.
Tools and Equipment Needed
To safely connect your inverter, you’ll need the following:
Tools:
- Multimeter: For measuring voltage and continuity.
- Insulated screwdrivers: To secure connections safely.
- Wiring cables: Ensure correct gauge for the load.
Safety Gear:
- Insulated gloves and goggles: To protect against electrical shocks and sparks.
Equipment Checklist:
- Battery: Ensure compatibility with your inverter.
- Circuit Breaker: Prevents overloads.
- Fuse Box: Adds an extra layer of safety.
13 Pcs Telecom Tools Set
Steps to Safely Connect Your Inverter
Step 1: Choose the Right Location
Place the inverter in a cool, ventilated, and dry area. Avoid placing it near flammable materials or in direct sunlight. Proper ventilation prevents overheating, ensuring optimal performance.
Step 2: Install the Battery Securely
- Position the battery close to the inverter to minimize cable length.
- Connect the positive cable to the positive terminal and the negative cable to the negative terminal.
- Ensure all terminals are tight to prevent voltage drops or sparks.
Step 3: Connect the Inverter to the Power Source
- Use the correct gauge wiring to connect the inverter to the battery.
- Attach the circuit breaker and fuse box between the inverter and the power source for safety.
- Ensure all connections are insulated and secured.
Step 4: Test the Inverter
- Power on the inverter and check the voltage output using a multimeter.
- Verify that the inverter’s output matches your power needs.
Step 5: Finalize the Setup
- Connect the inverter to your home or office electrical system.
- Test appliances to confirm seamless operation between the mains and the inverter.
Safety Precautions
- Disconnect the main power supply before installation.
- Avoid overloading the inverter with excessive appliances.
- Regularly check for loose connections, overheating, or damaged wires.
- Ensure the battery is placed in a ventilated area to prevent gas accumulation.
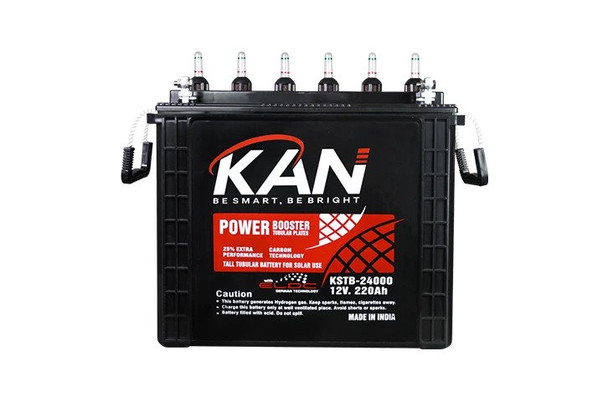
Kan 12v. 220AH Solar Tubular Battery
Conclusion
Looking for high-quality inverters and accessories? Visit Tend Industrial Supplies for expert advice and premium products. Ensure seamless and safe installation with our professional-grade tools and resources.


